BLOG
Managing PostgreSQL and MySQL Application Instances in Iron Foundry
Posted in how to guide, iron foundry, release, vmc, · September 26, 2012
PostgreSQL
PostgreSQL (discussed in this previous Iron Foundry blog post), is a very popular open source database. Developers or database administrators typically use the pgAdmin tool to author and debug queries, perform database backups/restorations, reindex and cleanup (VACUUM) data, manage server jobs, and much more. You can download the pgAdmin tool directly, or find it included in the PostgreSQL package itself. For this demonstration, I installed PostgreSQL locally and got the pgAdmin tool along with it. After installing the database software, I opened a command prompt on my Windows machine and targeted my Iron Foundry environment.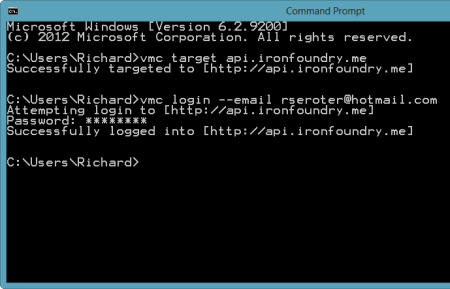 After authenticating myself, I issued a vmc command ("vmc services") to see which application services were available, and which services I had already provisioned.
 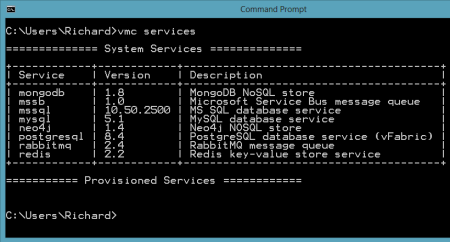 So far, no application services were provisioned. Let's change that. I created a new PostgreSQL instance by issuing the vmc command vmc create-service postgresql. Note that I didn't need to bind it to an application and can simply create a standalone instance that could be used by many Iron Foundry web applications.
 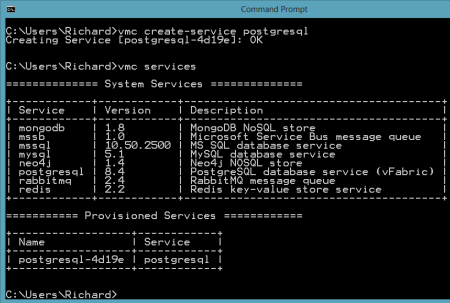 Now there was a running instance of PostgreSQL in my environment. At this stage, there was no way for the pgAdmin tool to access this instance. However, thanks to the Cloud Foundry Caldecott technology, I could create a secure tunnel for pgAdmin. The vmc tunnel
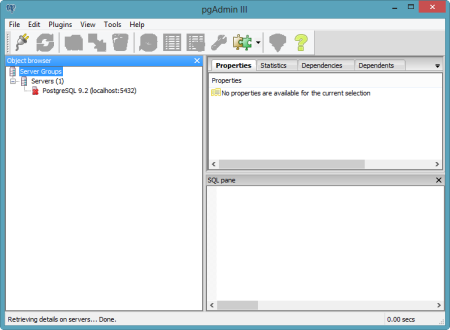
 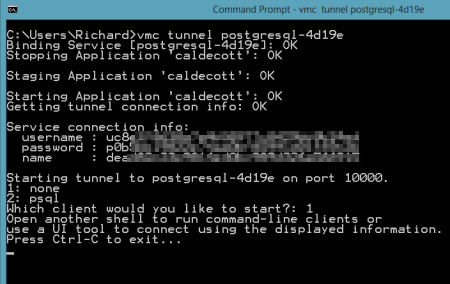 I could have chosen to use the psql client which would have let me issue commands right here in the command prompt, but since I wanted to use the full-featured pgAdmin tool, I selected the "none" client. Notice that I got four key pieces of information back: username, password, name and port. Together, these data points will get us logged into our environment. I opened the pgAdmin tool and could see that the only server currently recognized was the one on my local machine.
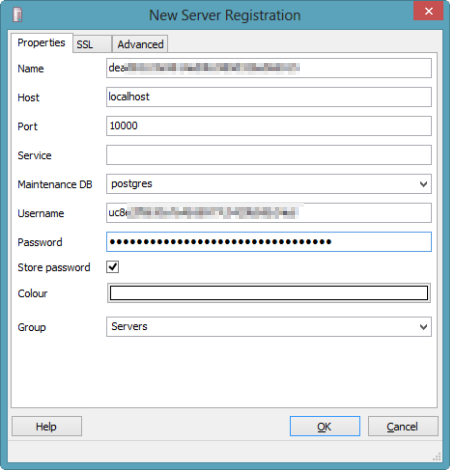
  I clicked the "Add a connection to a server" and was shown the "New Server Registration" prompt. For the "Name" value, I used the "name" that came back from the tunnel command; for "Host" value I set it to "localhost"; for the "Port" I used "10000"; and for the Username and Password, I used the corresponding values returned by the tunnel command.
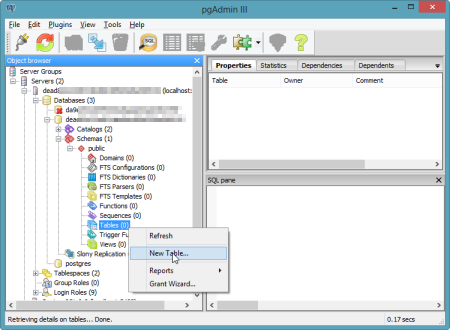
  Once connected, I could navigate all the database artifacts and browse the standard options for backing up data, querying tables, and creating new tables.
  The pgAdmin tool is a very handy and useful way to manage your database artifacts and Iron Foundry makes it easy to use this tool against your application services.
MySQL
MySQL is also a very popular open source database and we want to make sure that database developers and administrators can use familiar tooling even if their application instance sits in a PaaS like Iron Foundry. The MySQL team has made significant investments in their Workbench tool, and here we'll see exactly how you hook the Workbench up to an Iron Foundry instance. First, I downloaded the standalone Workbench tool. Then, I added a new MySQL instance to my Iron Foundry environment by using the vmc create-service mysql command.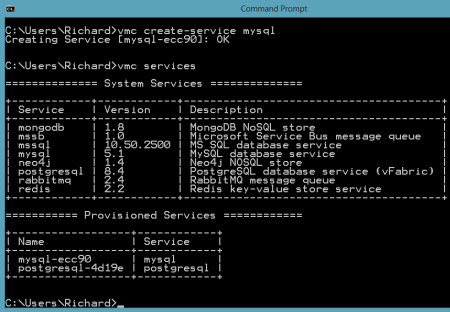 Like the PostgreSQL example prior, I created a tunnel so that the MySQL Workbench tool could "see" our Iron Foundry instance. As before, I also chose the "none" client so that I could connect the GUI tool instead of issuing command statements only.
 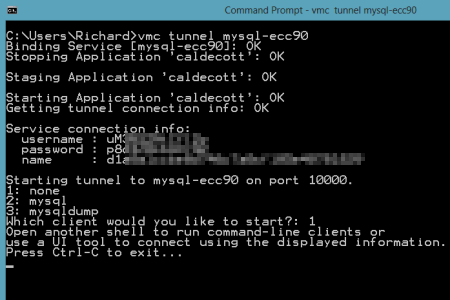 Notice that I got back database credentials ("username"/"password"), a schema instance name ("name"), and a port number. I was now ready to connect the MySQL Workbench to my database instance. The Workbench has three core functions: SQL development, data modeling, and server administration.
 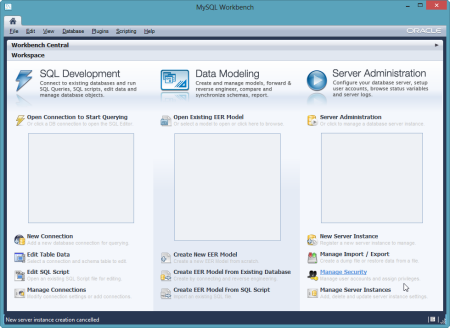 In this example, I created a new pair of tables, and deployed them to the database instance in Iron Foundry. In the Workbench, I clicked the "Create New EER Model" in order to generate a data model. The first thing that I did was right-click the schema name and choose "Edit Schema." On the subsequent window, I changed the default "mydb" name to the the "name" value returned by the vmc tunnel command.
 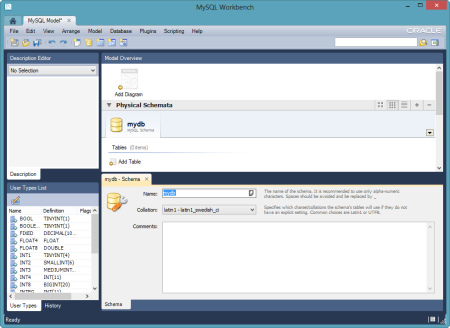 I then chose to add a new diagram to the model and proceeded to create a pair of new tables, "customer" and "order", and defined a relationship between them.
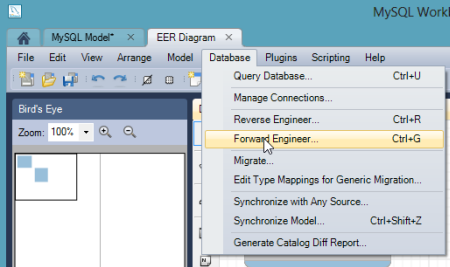
 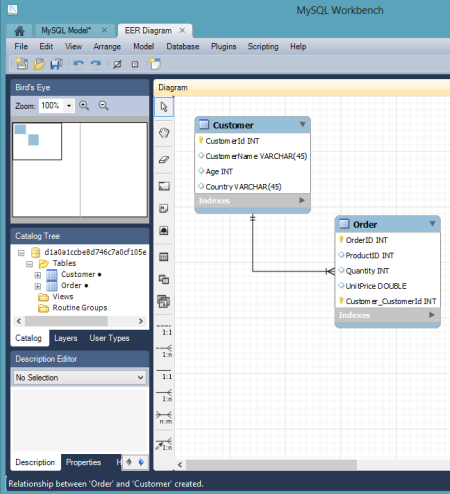 With the model complete, I chose the "Forward Engineer" option so that this model could be used to generate the actual tables.
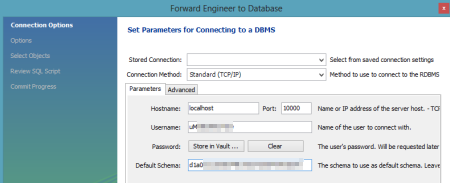
  I was then prompted to create an actual connection to the target database, and this is where the tunnel-provided values came into play. I plugged in the username and password, and set the Hostname value to "localhost" and the Default Schema to the tunnel-provided "name" value.
  I then kept the remaining default options, including the selection of the two tables to forward engineer, and reviewed the pending SQL Script to be executed. After successfully completing the wizard, I could open an instance of the SQL Editor and browse my schema.
 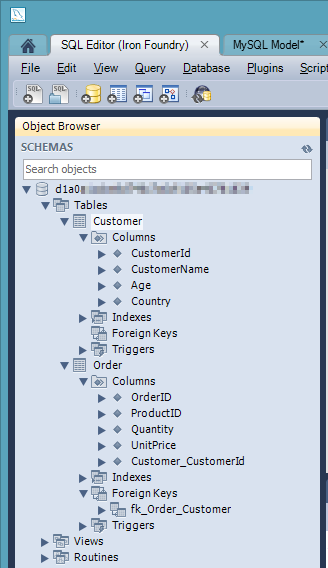 Sure enough my two tables, relationship included, were there.
